
What Happens to Donated Skin? Tracking Its Journey From Donor to Healing a Burn Victim
Ever wondered what actually happens after someone pledges to donate their skin? It's not like donating blood where you walk into a center, sit in a chair for 15 minutes, and walk out with a juice box. Skin donation happens after death, and the journey from donor to burn victim is fascinating: and way more organized than you might think.
Let's walk through this entire process step by step, because understanding how skin donation works can help more people feel comfortable about making this life-saving pledge.
Step 1: The Pledge and Family Conversation
The journey actually starts long before anyone passes away. When someone decides to donate their skin, they typically register with organizations like Skin'd India or directly with a skin bank. But here's the thing: in India, even if you've signed up as a donor, your family still needs to give consent when the time comes.
This is why having that conversation with your family is so important. The skin bank can only proceed if your loved ones understand and support your decision. It's not just a legal requirement: it's also emotionally necessary for families during a difficult time.
When someone who has pledged skin donation passes away (usually in a hospital setting), the medical team contacts the nearest skin bank. Time becomes crucial here because skin needs to be harvested within 6-8 hours after death to maintain its quality.
Step 2: The Collection Process
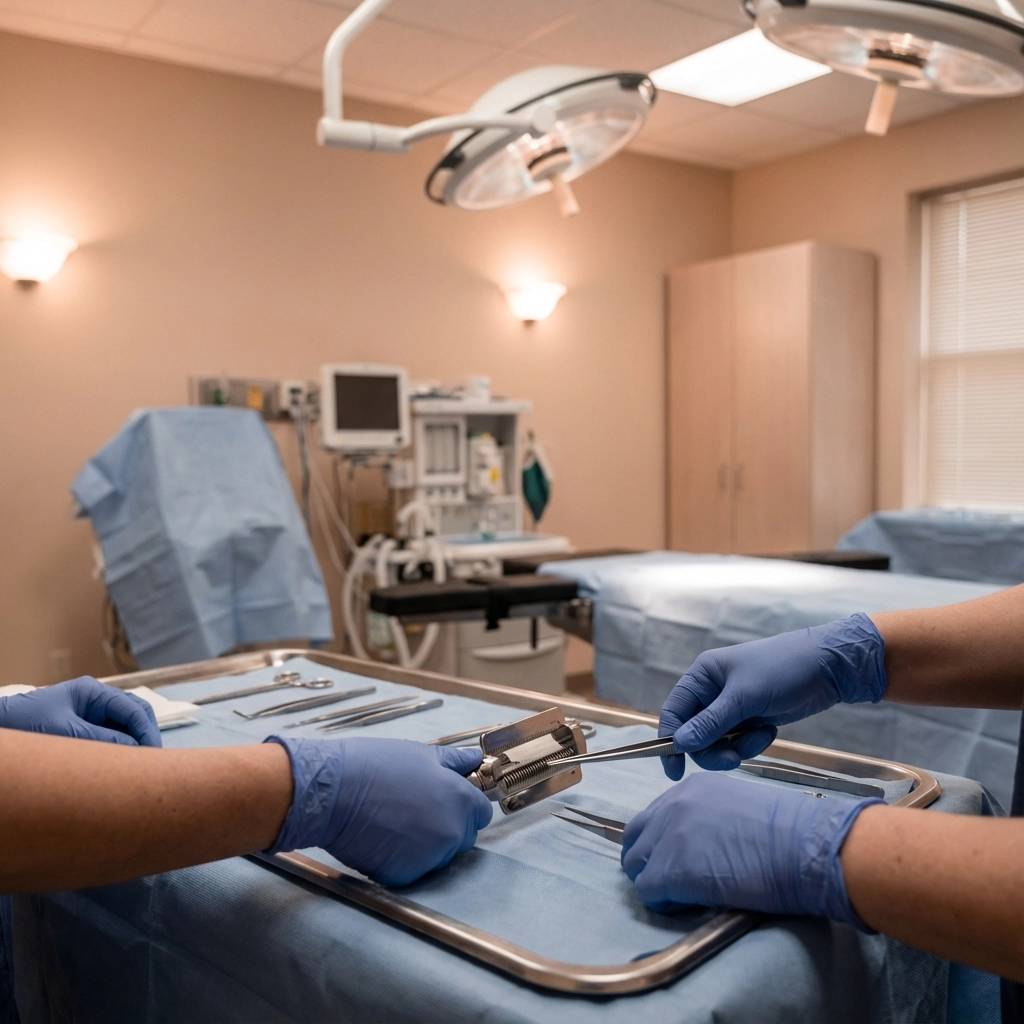
Here's where things get really interesting: and much more respectful than most people imagine. The skin collection process is performed by a trained procurement team of at least three people, all following strict surgical protocols.
The most important thing to know? Only the top layer of skin is harvested: just one-eighth of the skin's thickness using a special tool called a dermatome. This means there's absolutely no disfigurement of the body, and families can still have an open-casket funeral if they choose.
The entire procedure takes about 45 minutes. The team works on specific areas: the thighs, buttocks, and back. These areas are chosen because they have the largest, flattest surfaces and are typically covered by clothing, so harvesting from these areas doesn't affect the donor's appearance.
During collection, the skin is immediately placed in a special solution containing 50% glycerol and stored in labeled, sterile containers. Blood samples are also taken for testing to ensure the donated skin is safe for transplant.
Step 3: Journey to the Skin Bank
Once collection is complete, everything gets packed into ice-boxes and transported to the skin bank. In India, we have skin banks in major cities like Mumbai, Chennai, Delhi, and Bangalore, but the network is still growing to cover more regions.
The moment the donated skin arrives at the skin bank, it enters a highly controlled environment. Every piece of skin gets a unique tracking number, and detailed records are maintained throughout the entire process. This tracking system is so thorough that skin banks can trace exactly which donor each piece of skin came from, even years later.
Step 4: Processing and Preservation
This is where the magic happens. The processing phase transforms donated skin into a medical product that can save multiple burn victims.
First, the skin gets transferred from the initial 50% glycerol solution to a stronger 85% glycerol solution. This isn't just storage: it's active preservation. The glycerol protects the skin's cellular structure and prevents bacterial growth.
The skin pieces are kept under gentle shaking conditions to ensure the glycerol penetrates evenly. Think of it like marinating: but for medical purposes. During this phase, technicians carefully measure each piece of skin and document its dimensions. Some pieces might be "meshed" (a process that creates tiny holes to help the skin stretch and cover larger areas).
Step 5: Quality Control and Testing
Before any donated skin can be used on a patient, it undergoes rigorous testing. A small sample from each batch gets sent to the laboratory for bacterial and fungal testing. This is non-negotiable: if any contamination is found, the entire batch from that donor gets discarded.
The testing phase can take several days. Only skin that passes all tests gets the green light (literally: skin banks use green labels) for clinical use. Approved skin can be stored at 4-8°C for up to five years while maintaining its effectiveness.
What's unique about skin banking in India is that many facilities have developed cost-effective preservation methods that work well in our climate conditions. Some Indian skin banks have pioneered techniques for processing skin in high-humidity environments, which has helped improve storage success rates.
Step 6: The Call for Help
Meanwhile, somewhere else in India, a burn victim arrives at a hospital. Maybe it's a child who accidentally touched a hot stove, or a factory worker injured in an accident. When someone suffers severe burns covering more than 20% of their body, they often need skin grafts to survive and heal properly.
The treating doctor contacts the nearest skin bank to request grafts. The skin bank checks their inventory and matches available skin based on the patient's needs: the size of the burns, location on the body, and the thickness of skin required.
Step 7: From Bank to Patient
When skin grafts are ready for transport, they're packed in special cool gel packs and rushed to the hospital. This journey might be across the city or across the state, depending on where the nearest skin bank is located.
In the operating room, the surgical team removes the preserved skin from refrigeration and lets it warm to room temperature. They then thoroughly wash off all the glycerol solution: this step is crucial because glycerol can irritate living tissue.
Before the surgery begins, the medical team explains the entire procedure to the patient and family. They sign consent forms acknowledging that they understand they're receiving donated tissue and any associated risks.
Step 8: The Transplant
The actual grafting process is where one person's final gift becomes another person's second chance. The surgeon carefully places the donated skin over the burn victim's wounds. The skin acts like a natural bandage, protecting the area from infection while the patient's own skin grows back underneath.
In many cases, the donated skin is temporary: it protects the wound while the person's own skin heals and regenerates. In other cases, particularly with very severe burns, the donated skin becomes a permanent part of the recipient's healing process.
The Complete Circle
From pledge to patient, this journey typically takes 2-7 days. But the impact lasts a lifetime. One skin donor can help heal multiple burn victims: sometimes as many as 8-10 people, depending on the severity of their injuries.
The tracking doesn't stop after surgery either. Skin banks maintain records of how each piece of donated tissue was used, creating a complete audit trail from donor to recipient.
Why This Process Matters
Understanding this journey helps demystify skin donation. It's not scary or mysterious: it's a carefully orchestrated medical process that transforms tragedy into healing. Every step is designed with respect for the donor, safety for the recipient, and efficiency to help as many burn victims as possible.
In India, where burn injuries affect hundreds of thousands of people annually, this process represents hope. It's the difference between months of painful healing and weeks of recovery. It's the difference between permanent disfigurement and restored function.
If you're considering pledging skin donation, know that your decision sets in motion a remarkable chain of events. Your gift will be handled with care, processed with precision, and delivered with purpose to someone who desperately needs a second chance at healing.
Ready to learn more about how you can become part of this life-saving process? Visit Skin'd India to find out how to pledge skin donation and help create more of these healing stories across our country.
Would diagrams or infographics help explain any part of this process more clearly? Let me know if you'd like visual aids to accompany this journey!


